This tutorial will take you through the process of building your first NFT and deploying it in the Rinkerby Test Network.
This tutorial is meant for those with a basic knowledge of Ethereum and smart contracts but also for those who are new in the NFT world.
We will be covering:
– Setting up Metamask in order to use the Rinkerby Test Network (cryptocurrency wallet).
– Getting ETH in our wallet to use in the Rinkerby Test Network.
– Install and use OpenZepellin in order to use the ERC721 token template to create our NFT.
– Using Remix (Write, deploy and mint NFT in Rinkerby Test Network).
– Write a NFT smart contract (ERC721 token).
– Setting up Pinata (manage files on IPFS).
– Compiling and deploying the NFT.
– Minting the NFT with the IPFS data.
– View the NFT in Opensea.
Installing and configuring Metamask
The easiest way for users to interact with Dapps that exists in Ethereum is through Metamask, which is a browser extension for both Chrome and Firefox.
The user will be able to connect to the Ethereum main net or testnets and use it as a wallet in order to pay for the smart contract deployment and the NFT minting. In this tutorial, we are going to focus on the Rinkerby Test Network.
To do this, you must follow the following steps:
- Install Metamask in your browser as an extension.
- Once installed your browser will display the following:
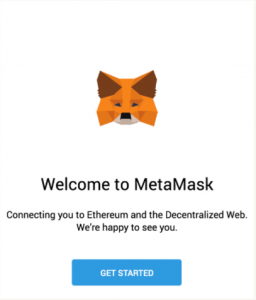
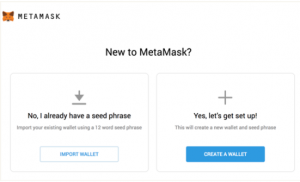
- After clicking in GET STARTED, you are going to see the Initial Metamask screen and you are going to select CREATE NEW WALLET:
- Next, you should see a screen requesting anonymous analytics, you can choose to agree or decline. It won’t change this answer in order to follow the tutorial.
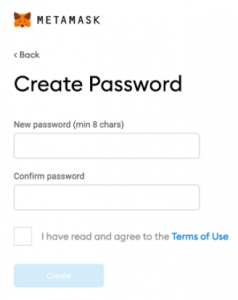
5. In the next step, you are going to set your Metamask password.
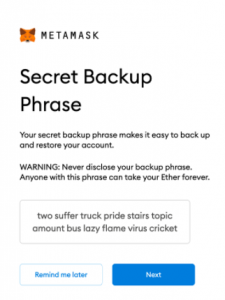
- After setting the password, Metamask will reveal your 12 word seed phrase. Please back it up in a safe place.
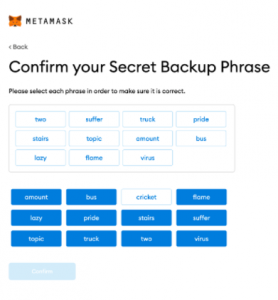
- Next, you will need to confirm your secret backup phrase selecting the words in the same order that was displayed in the previous screen.
8. Your metamask account is ready to use.

- After finishing the setup, you are going to open the Metamask extension in your browser and you are going to select Rinkerby Test Network.
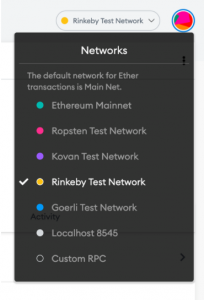
- You are going to see that you have 0 ETH in your wallet, so we need to add funds in order to make the NFT deploy and mint.
In the next article we will explain how it is possible to Add ETH to your Metamask wallet. Don’t miss it.
Until next time.
 Co-Founder & CEO @ Inmind - Blockchain & Mobile Expert | DAO / Tokenization / Web3 | CTO @ Brainstems (Former TIEX) | Board Member @ CUTI